How To Setup A Shopify Ecommerce Website ? Easy to Understand Guide

Setup Your eCommerce Website with Shopify in a Day
Maybe you hear of owning a website store and fret. Worry no more! We’ve got you covered. We will show you how you can easily own one in a day courtesy of Shopify. Statistics show that e-commerce is one of the leading trends in the world of business. For any business to secure a competitive edge, eCommerce must be a priority. As a professional eCommerce developer myself at VOCSO.COM, an eCommerce development company working on different types of eCommerce platforms. But i will strongly recommend Shopify to build your online store. Shopify is one of the leading company that helps you set up an online store in a blink of an eye. Don’t be left behind! Below are some simple steps that could change your business story.
Create a Store
This is the very first step that consist of seven simple steps. You only need less than ten minutes to go through this steps.
![Shopify Tutorial for Beginners [Live ] Store Setup](data:image/svg+xml;base64,PHN2ZyB4bWxucz0iaHR0cDovL3d3dy53My5vcmcvMjAwMC9zdmciIHdpZHRoPSIzMDAiIGhlaWdodD0iMTIxIiB2aWV3Qm94PSIwIDAgMzAwIDEyMSI+PHJlY3Qgd2lkdGg9IjEwMCUiIGhlaWdodD0iMTAwJSIgc3R5bGU9ImZpbGw6I2NmZDRkYjtmaWxsLW9wYWNpdHk6IDAuMTsiLz48L3N2Zz4=) 1. Choose a name
1. Choose a name
![Shopify Tutorial for Beginners [Live ] Store Setup](http://www.digiwebart.com/wp-content/uploads/2018/05/screenshot-vocsowebstudio.myshopify.com-2018.05.21-17-41-27-1.png)
This is a vital step of coming up with a simple name ( if you don’t already have one) for your store. Come up with several brand ideas and choose a name that is not trademarked. This name should have an available domain preferably a .com which responds well in search engines. It’s advisable you add ‘store’ or ‘shop’ to your name to find a (internet address). Some of the recommended business name generators are:
- Wordlab (https://www.wordlab.com/)
- Name mesh (https://www.namemesh.com/)
- Name smith (https://namesmith.io/)
- Namestation (https://www.namestation.com/)
Sign-up for a Shopify account
Here, shopify makes everything simple for you. They have a software with simplified process that is cheap and less time consuming to come up with an effective ecommerce website. All you need is to go to shopify.com and click a ‘start a free trial’, insert the name of the store you decided in the above step and you are good to go.

Adjust your settings
Add your PayPal email in the payment section which is under the payment section. You don’t have a PayPal account? Worry not. You can create one by simply visiting Paypal.com. There are further steps that helps you in configuring your account.
Here are the four simple steps to help you configure your account to suit your needs. Here are the steps!
1. Come up with the required policies
Shopify provides you with ways of coming up with terms and conditions. They are found in Shopify Settings> Checkout> scroll down to Refund> Privacy> TOS statements section for each policy sample.
2. Offer free shipping or configure shipping rates
For a beginning, it’s advisable you provide free delivery option to your customers. Click on shopify settings and then shipping. Delete all shipping zones that are domestic and choose ‘free international shipping’ in the category of ‘rest of the world’ for your price based rates.
3. Form an online store
Shopify gives you the liberty to sell your products across many channels. Creation of a shopify account is simple by just going to Shopify Settings >Sales Channels >add online store as your sales channel if it has not been added automatically.
4. Purchase a domain ( Not Mandatory)
For a professional looking store, this is highly recommended though it’s not a mandatory step. You might want to buy a custom domain to make your store look like a standard website.
 However, it’s worth noting that this will come with additional cost. This can be therefore be a later consideration. Purchasing a domain early enough is advantageous too since it helps you secure it against being bought by someone else. If interested in purchasing one, go to Shopify Online Store >Domain Section >Buy New Domain. A confirmation email will be sent to your email inbox right away. We suggest you find and use the domain name same or similar to the store name.
Setup products and categories
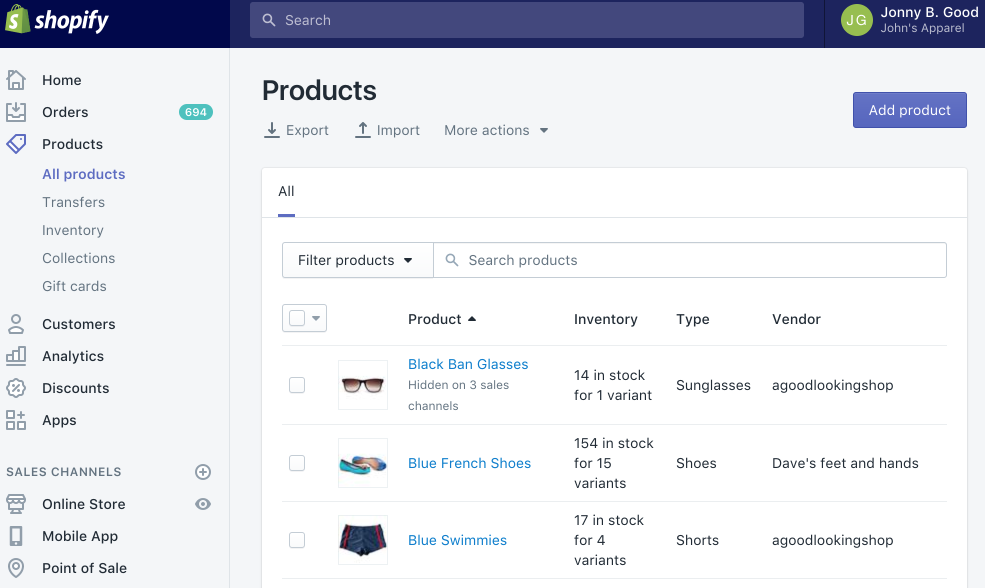
Adding products in the right way is the most important parts to build your store meaningful. Shopify is one of the easiest platforms to add your products, build collections, and manage your inventory to reach your potential customers. You can view, add, update, and categorize your products go live in a day from the Products page on the Shopify.
Select and Customize Store Theme
You just made it! Here is the last few steps that will usher you to a new dimension of business. How you present your business build a certain image in the mind of the customers. Shopify just made this easier for you by providing a default theme. However, you can make your website more appealing by your banner graphic, color scheme and visual elements.
1. Make a menu
Simply click Shopify Online Store >Navigation section >Edit main menu. Name all your collection here.
Upload your banner now
You can make a good looking banner by use of ‘google banner editing tools’. The recommended banner size is (1200 x 360 pixels). You can now upload your banner.
Modify the product features
Simply click on Customize Theme >Home Page > Featured Products. Here you can chose a collection of featured products.
Establish your footer
Access footer settings by clicking >Theme Section >Customize Theme page >Footer settings. Decide what appears in your footer menu. Click the footer menu now and list all the page that you created.
Now you’re almost there.
Inventory and Drop-shipping
Hooray! You have just fully created your online store, we are almost done. Here is one of the vital steps. Shopify simplifies the business for you, you don’t have to think where to store your product or other related factors. Earlier, for you to run an ecommerce store, you had to buy goods in bulk quantities, wait for their delivery, store them in your warehouse and then ship them to the customer after an order. Forget all this time wastage, extra cost and increased risk.
Instead, there is a model called ‘drop shipping’. It allows you as a beginner of ecommerce to kick off and concentrate on sales alone without the stress of holding inventory or even shipping inventory. All you need is to add products to your ecommerce store and in the case of an order you pay the supplier who directly ships the products to the customers. You can contact a wholesaler and make a land drop shipping deal or either use outsourcing tools and apps. The second option is always the best.
Way Forward
You are now an ecommerce entrepreneur! Do we stop here? No. Endless efforts are required to ensure customers are aware of your products. Failure of this will make it hard for customers to get your products. Generally, there are several free and paid ways that helps you advertise your products online. Some of them are listed below.
- Find forum related to your ecommerce business. You can use your URL as your forum.
- Apply search engines optimization to your website. This makes it easy for engines such as google to easily find you.
- Create business cards with your ecommerce URL printed on them. Give them out to people
- Social media sites are also helpful if done consistently if done consistently.
Image Credit – Shopify.Com
About Author:
Deepak Chauhan is a digital marketing consultant and CEO of VOCSO, a creative digital agency based out of India, USA & UAE. The web business strategist, who has 12+ years of experience, has worked with many small businesses and startups across the globe to help them build successful websites/applications and launch them online with his strategic consulting. When not working, he enjoys traveling, photography and satisfying his taste buds.
